
Automotive
Most “lane assist not working” alerts trace back to one thing: the forward-facing camera behind your rearview mirror can’t get a clean read on the lane lines. Check the glass right in front of that camera for dirt, frost, or a sticker, confirm the feature is switched on in your settings, then restart the vehicle. That sequence resolves the majority of cases without a shop visit.
TL;DR:
- Cleaning the camera housing from dirt, frost, or stickers often restores lane assist functionality without needing professional help.
- Environmental factors like heavy rain, fog, or faded lane markings can prevent the system from detecting lines even when the camera is unobstructed.
- System inertias such as low speed, active turn signals, or steering inputs cause lane assist to stand down naturally, not indicating faults.
- Windshield replacements can misalign the camera, requiring a proper calibration and a road test to restore full system accuracy.
- Diagnosing persistent issues involves checking fuse states and stored fault codes with a scan tool, alongside ensuring the camera is properly aligned.
Table of Contents
- Quick Checks You Can Do in 5 Minutes
- Common Causes: Visibility, Road Conditions, and Vehicle State
- Resets, Scans, and DIY Steps Before You Call a Shop
- Windshield Replacement and ADAS Recalibration: What to Expect
- When to Stop Troubleshooting and Call a Professional
- What Drivers Usually Miss About Calibration
- Get Your Lane Assist Recalibrated the Right Way
- Where to Check for Model-Specific Steps
- Sources
- FAQ
Quick Checks You Can Do in 5 Minutes
Before you assume something’s broken, run through these steps in order. Most lane departure warning failures clear up at step one or two.
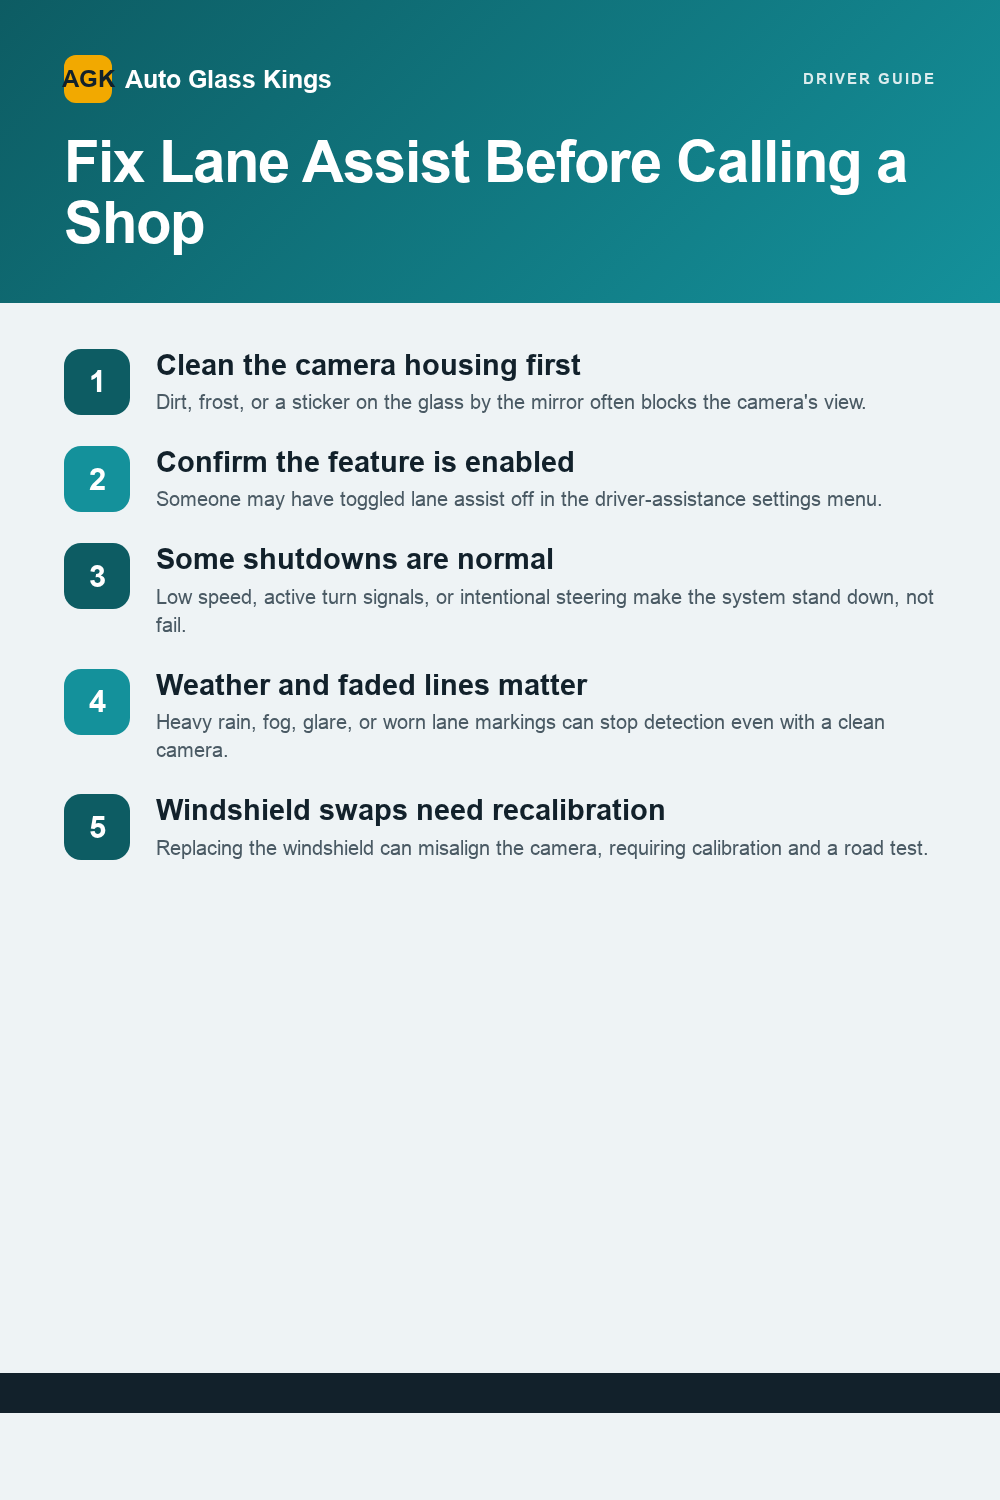
- Find and clean the camera housing. It sits just behind or beside your rearview mirror, mounted to the windshield. Wipe that patch of glass, inside and out, with a microfiber cloth and glass cleaner. Frost, road grime, and even a parking permit sticker in the wrong spot can block its view.
- Confirm the feature is actually on. Somebody, maybe a kid fiddling with settings, maybe you last week, can toggle lane assist off in the driver-assistance menu without you noticing. Check it before you troubleshoot anything else.
- Drive above the activation speed. Many systems stay dormant below a certain speed threshold, so testing it in a parking lot tells you nothing. Get onto a road with clear striping and let it wake up.
- Power-cycle the vehicle. Turn it off, wait 30 to 60 seconds, restart, and drive on a well-marked road. That pause lets the system run its own self-check.
Watch the dashboard icon while you do this. A white icon usually means the system sees a limitation, like a covered camera or an active turn signal, not a hard failure.
Pro Tip: Test on a route you know has fresh paint stripes. Faded or construction-zone markings can make a perfectly healthy system look broken.
Common Causes: Visibility, Road Conditions, and Vehicle State
Lane assist malfunctions usually fall into three buckets, and figuring out which one you’re dealing with saves a lot of guesswork.
- Camera visibility problems. Dirt, condensation, frost, a cracked windshield near the camera mount, or an aftermarket sticker placed too close to the sensor. Chevrolet’s own troubleshooting guidance lists camera obstruction as a primary cause of “unavailable” messages.
- Environmental limits. Heavy rain, fog, low sun glare, and faded or missing lane striping (common in construction zones) can all make the system unable to detect markings even when the camera itself is fine.
- Normal operating behavior. The system is designed to stand down under certain conditions, and this isn’t a fault. Ford’s support documentation notes that lane-keeping systems often stay inactive below a set speed threshold, when your turn signal is on, or when you’re clearly steering intentionally.
- Electrical and communication faults. A weak battery, a recent battery disconnect, a blown fuse, or a stored ADAS fault code can disable lane assist even when the camera is spotless.
Manufacturer pages across Ford, Chevrolet, and GMC repeat the same pattern: visibility issues and normal operating limits account for the bulk of complaints, while true hardware or wiring failures are the minority.
Resets, Scans, and DIY Steps Before You Call a Shop
Work through this in order. Each step either fixes the problem or rules something out, which narrows down what a technician needs to look at if you end up there anyway.
- Clean the camera area. Covered above, but worth repeating as step one every time.
- Confirm settings and icon status. Make sure the feature is enabled and note what color the dashboard icon is showing.
- Power-cycle the vehicle. Turn off, wait a minute, restart.
- Test above activation speed on a clearly marked road. This is where most “fixed itself” moments happen.
- Check fuses and scan for stored codes. If the system still won’t engage, an OBD-II or ADAS-capable scan tool can pull stored fault codes that point to a wiring issue or a calibration drift rather than a simple glitch.
A structured test-drive checklist helps here too, since verifying system behavior methodically after any reset catches issues a casual drive around the block would miss.
| Step | Tool needed | What it confirms |
|---|---|---|
| Clean camera | Microfiber cloth, glass cleaner | Rules out simple obstruction |
| Settings check | None | Confirms feature is enabled |
| Power cycle | None | Clears temporary software hang |
| Scan for codes | OBD-II / ADAS scan tool | Identifies stored fault or calibration drift |
Technicians using a scan tool’s special functions can run an alignment routine and then require a road test, often around ten minutes of driving, to complete the calibration and confirm the camera is properly aligned.
Windshield Replacement and ADAS Recalibration: What to Expect
A windshield replacement moves the camera, even if only by a fraction of a millimeter, and that’s often enough to knock a lane-detection system out of alignment. The mount, the glass curvature, and the exact camera angle all matter more than most drivers realize.
Professional calibration typically involves:
- Running a diagnostic tool’s special function (sometimes called an Image Processing Module reset) to realign the camera’s frame of reference.
- Confirming preconditions first, like battery voltage sitting in the correct range and the vehicle parked on level ground with the ignition in the right state.
- Completing a dynamic road test afterward, since static calibration alone often isn’t enough to restore full accuracy.
A mobile calibrator that handles ADAS calibration in-house can do the glass work and the camera alignment in the same visit, using OEM-quality materials, and verify the system is reading lanes correctly before you drive off.
Pro Tip: If you’ve had a windshield replaced anywhere in the last few weeks and lane assist just stopped working, assume it’s a calibration issue before you assume it’s a broken part.
When to Stop Troubleshooting and Call a Professional
Some symptoms aren’t worth chasing yourself. Book a diagnostic appointment if you see:
- A persistent “system unavailable” message after you’ve cleaned the camera, confirmed settings, and power-cycled the vehicle.
- Multiple ADAS warnings appearing together, like lane assist plus adaptive cruise control or blind spot monitoring going dark at the same time.
- Any lane assist failure that started right after a windshield replacement, bumper repair, or minor collision near the front of the vehicle.
A technician will pull stored fault codes, inspect the camera mount and wiring connectors, and run either a static or dynamic calibration depending on what the manufacturer specifies. Expect the visit to include an appointment, the calibration itself, and a verification drive to confirm the system reads lanes correctly. If the issue followed a glass replacement, insurance frequently covers the recalibration as part of that claim.
What Drivers Usually Miss About Calibration
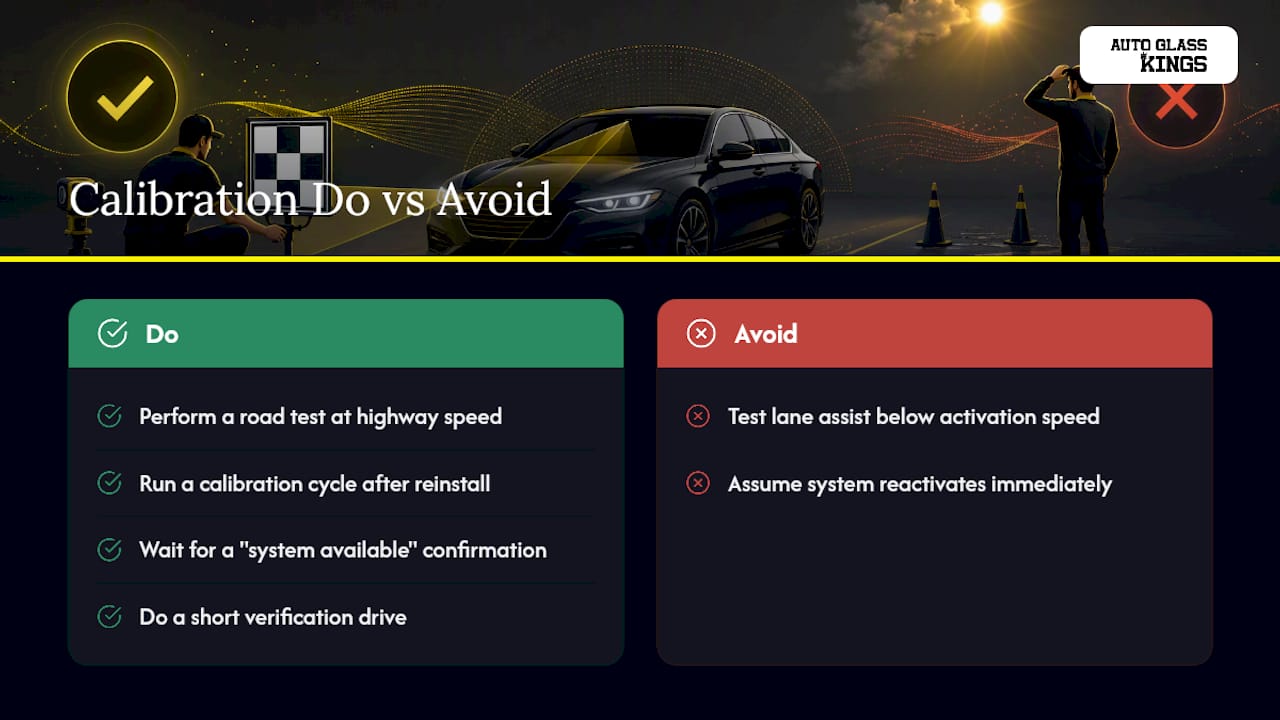
Small mounting differences matter more than people expect. A camera reinstalled a hair off-angle can pass a static check and still misread lanes at highway speed, which is why the road test isn’t optional.
The most common mistake we see is testing lane assist below the activation speed and assuming it’s broken. The second is assuming a system reactivates the moment a windshield goes back in, when it actually needs a calibration cycle first. Once that’s done properly, expect a clean “system available” message and a short verification drive, nothing dramatic, just confirmation the camera is seeing straight again.
— Auto Glass Kings
Get Your Lane Assist Recalibrated the Right Way
Skipping calibration after a windshield swap is the single most common reason lane assist stops working for good, not just temporarily. A professional mobile windshield replacement service uses OEM-quality glass, backs every install with a lifetime warranty, and runs ADAS calibration in-house on the same visit, so your camera gets realigned before you’re back on the road, not days later at a second appointment.

Ask about direct insurance billing when you book. Many customers cover the entire replacement and calibration with zero out-of-pocket cost. The service can accommodate a range of vehicles, from daily drivers to high-end brands, with flexible mobile availability in the local area. If your lane assist stopped working after a chip repair, a crack, or a full replacement, schedule your ADAS calibration and get a verified, road-tested system instead of guessing whether it’s actually fixed.
Where to Check for Model-Specific Steps
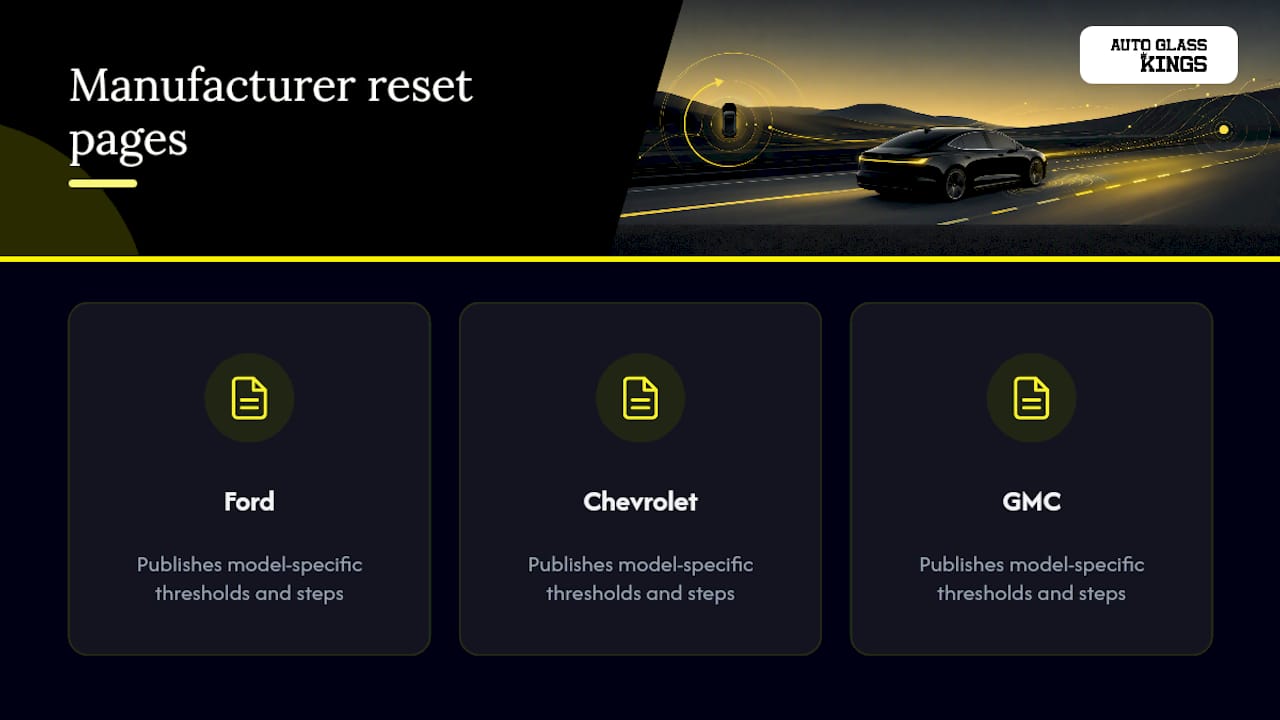
For exact reset procedures on your vehicle, check the manufacturer pages directly: Ford, Chevrolet, and GMC all publish model-specific thresholds and troubleshooting steps.
Sources
- Why is the lane-keeping system in my vehicle not working? — Lincoln/Ford support
- Troubleshooting issues with Lane Keep Assist with Lane Departure Warning — Chevrolet support
- Quick Tip: Ford lane departure reset with Snap-on diagnostic tool
FAQ
Where Is the Lane Assist Sensor Located?
The lane assist camera sits behind the windshield glass, usually mounted directly above or beside the rearview mirror, giving it a forward view of the road markings.
How Do I Turn My Lane Assist Back On?
Open your vehicle’s driver-assistance settings menu and confirm the lane keep or lane departure feature toggle is switched on, since it can be disabled accidentally during other settings changes.
How Do I Reset the Lane Departure System?
Power off the vehicle, wait 30 to 60 seconds, restart, and drive above the activation speed on a road with clear lane markings; if the message persists, a scan tool may need to run a calibration reset followed by a road test.
What Causes the Lane Assist Warning Light to Come On?
The warning light typically points to a camera visibility issue, a system operating limit like low speed or an active turn signal, or in some cases a stored fault code that needs a professional diagnostic scan, especially after a windshield replacement.
Recommended
- ADAS Calibration Orange County
- Auto Glass Kings Review: ADAS Calibration After Glass Replacement
- Top 5 Benefits of Mobile Windshield Repair Near You
🎧 Listen to This Article
Share
Recent Posts

September 12, 2026
Fix an Off Track Car Window in an Afternoon, Safety Steps First
Window off track? Tape the glass and disconnect the negative battery, then reseat or replace the regulator safely. Book a mobile repair for...
September 11, 2026
Fix a Leaking Sunroof in an Afternoon for Under $100
Run a water test, clear and vacuum all drains, and condition the weatherstrip to stop most sunroof leaks. DIY tools cost under $100;...
September 10, 2026
Drivers: Lane Assist Not Working? 5 Minute Checks and Mobile ADAS Fix
Quick 5 minute checks and five DIY resets to try before a shop. Learn when to call a technician and how mobile ADAS...