
Automotive
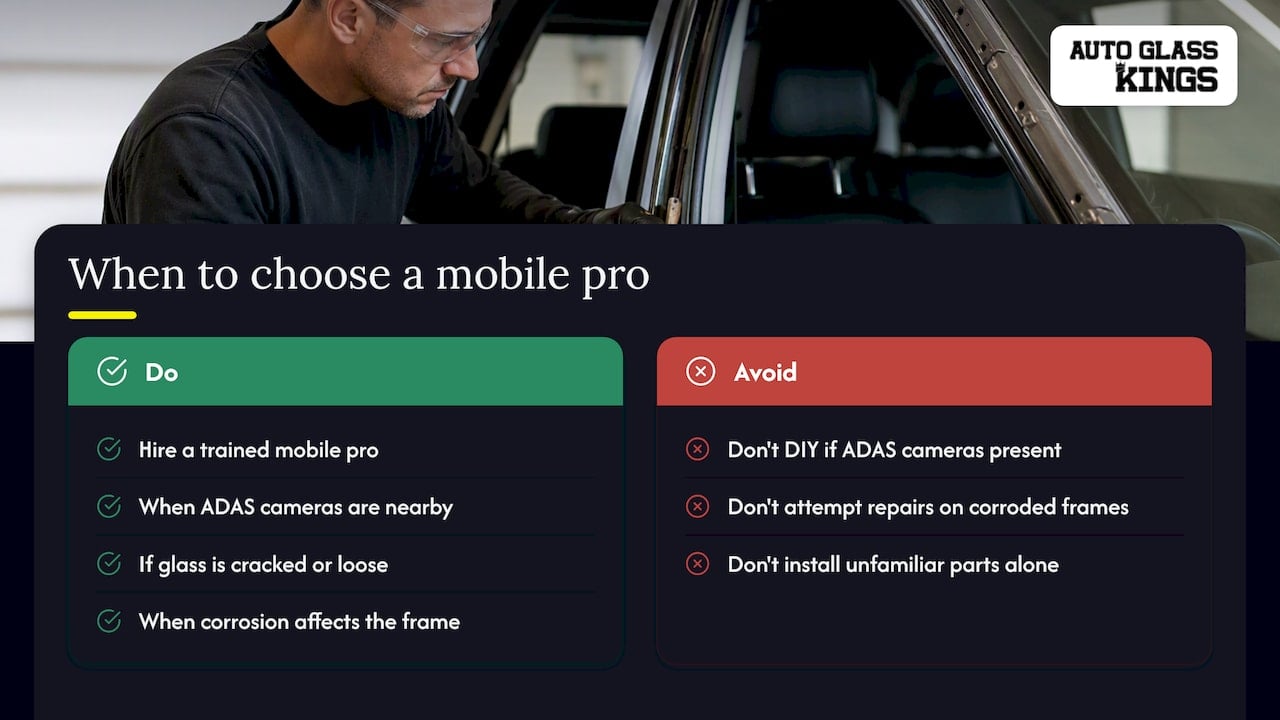
Replacing a window run channel is a reasonable DIY project for most vehicle owners with basic hand tools and about 1 to 3 hours per door. Skip the DIY route and call a mobile pro when your vehicle has ADAS cameras near the glass, the window glass is cracked or loose, or the door frame shows heavy corrosion; for example, a specialized Chrysler Auto Body Repair Greensboro, NC shop can handle these complex repairs with expertise. Your next move: confirm the part fits your exact year, make, and model, or request a quote from a mobile service.
TL;DR:
- Confirm the part number matches your vehicle’s exact year, make, and model to ensure proper fitment and avoid early failure.
- Replace the run channel when symptoms include slow window movement, increased wind noise, water leaks, or visible cracking and flattening.
- Use a metal-core for original contours or a flexible rubber channel for easier installation, but avoid universal kits for critical, long-term repairs.
- Support or remove the glass entirely during installation, and cycle the window multiple times to verify proper alignment before fully tightening.
- Consider professional service if your vehicle has ADAS cameras near the window or significant corrosion, to ensure proper calibration and prevent damage.
Table of Contents
- What a run channel is and why it fails
- Choosing the right run channel type
- Parts, tools and materials you need before starting
- Step-by-step run channel replacement
- Testing the window and fixing common problems
- Buying the correct part and avoiding fitment mistakes
- When a mobile pro makes more sense than DIY
- The real decision isn’t skill, it’s the part number
- Get a free quote for mobile side window service
- FAQ
- Sources
What a run channel is and why it fails
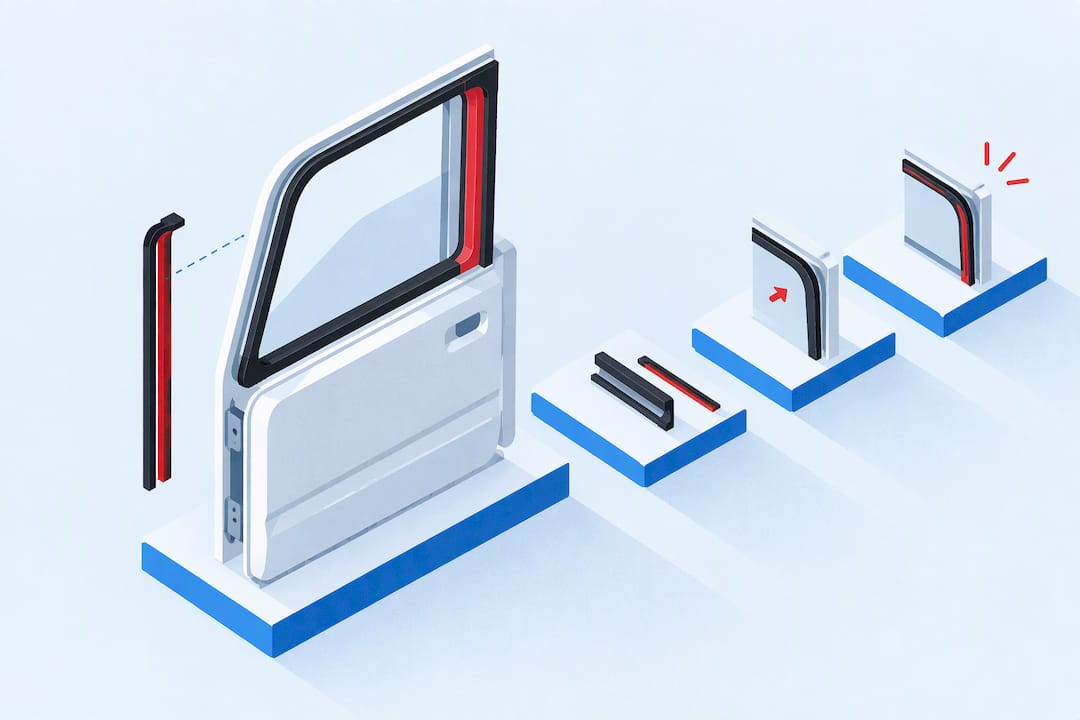
A run channel, also called a glass run or window felt, is the U-shaped rubber or felt-lined strip that guides your window glass up and down inside the door frame. It keeps the glass aligned, blocks water and wind, and cuts down on rattling and vibration while you drive. When it wears out, the channel stops doing its job and the symptoms show up fast, according to Steele Rubber’s guide to glass run channels.
Watch for these warning signs:
- The window moves slowly or binds partway up or down
- You hear scraping or grinding when the glass travels
- Water collects inside the door after rain
- Wind noise increases noticeably at highway speed
- The rubber or felt looks cracked, flattened, or missing in sections
Choosing the right run channel type
Run channels come in two main builds, and picking the wrong one leads to a sloppy fit or a repeat repair. Rigid metal-core channels hold an exact factory shape and work best for restorations where tolerances matter. Flexible all-rubber channels install more easily and tolerate a slightly warped or worn door frame better, though they sacrifice some precision according to Metro Moulded Parts’ truck-specific installation guide.
Felt-lined channels add a soft layer that reduces glass scratching and noise, which matters most on daily drivers. Non-felt rubber channels are simpler and often cheaper, suited to utility vehicles or budget repairs.
- Metal-core: matches OEM contours, better for classic or restoration projects
- All-rubber: easier to install, more forgiving on an imperfect frame
- Felt-lined: quieter ride, less glass wear over time
- Universal kits: lower upfront cost but higher risk of premature failure on vehicle-specific channels
Pro Tip: When working with a metal-core channel, transfer the bends from your old part to the new one gradually with a channel bender rather than forcing it into shape.
Parts, tools and materials you need before starting
Gather everything before you start pulling the door apart. You’ll need a trim panel removal tool, a set of screwdrivers, pliers, a socket set, and safety glasses at minimum, based on common practitioner recommendations in PRP’s tech tips.
- Vehicle-specific run channel (confirmed by part number)
- 3M Black Weatherstrip Adhesive (GL-11), used only where the original channel was glued or won’t stay seated
- Silicone spray or a soapy water solution to ease the glass and channel into place
- Clean rags and isopropyl alcohol for removing old adhesive and corrosion
- Optional: a channel bender for metal-core parts, and a second person to support the glass
Step-by-step run channel replacement
Work in a moderate temperature if you can. Cold rubber cracks easily, and extreme heat makes adhesive cure too fast to adjust. Tape an X across the window glass first in case it shifts during disassembly, and disconnect the battery if your door has power windows or memory seat modules tied to it.
- Remove the door panel, working around clips carefully, and peel back the vapor barrier without tearing it.
- Support or remove the glass. Most guides recommend removing the glass entirely rather than just propping it up, since it gives you full access to the track and reduces the risk of cracking the pane.
- Locate how the old channel is secured. Some are held with screws or clips, but most are pressure-fit into the frame, according to Metro Moulded Parts’ installation instructions.
- Pull the old channel free and inspect the metal track underneath for rust, dents, or leftover adhesive.
- Clean the track thoroughly with isopropyl alcohol and a rag. Old adhesive or felt debris left behind prevents the new channel from seating evenly and can cause it to wear out faster, a common pitfall noted in practitioner guidance from PRP’s tech tips.
- Install the new channel starting with the vertical sections, then work the top curve into place. Use a small dab of adhesive only where the manufacturer instructions or the original design called for it.
- Seat the channel fully into the track, using silicone spray or soapy water to help it slide rather than stretch.
- Reinstall the glass, leaving regulator and retainer bolts loose at first. Community threads on forums like TrailVoy consistently note that tightening too early risks pinching the glass during final alignment.
- Cycle the window several times to check alignment, then tighten all retainers and bolts to spec.
- Reinstall the vapor barrier and door panel.
Model-specific video walkthroughs, like 1A Auto’s guide for the 1997-2006 Jeep Wrangler, show this sequence is manageable for DIYers who follow a vehicle-specific procedure rather than a generic one.
Pro Tip: New rubber channels often feel tight for the first several cycles. That break-in period is normal and usually smooths out within a day of regular use.
Testing the window and fixing common problems
Run the window up and down a dozen times after reassembly, listening and feeling for binding, drag, or grinding. Check that the glass sits flush against the channel with no visible gap, and look for daylight or water intrusion around the edges.
- If the window binds, re-seat the channel in the tight section rather than forcing the glass through repeatedly
- A loose joint where two channel pieces meet often needs a small dab of adhesive to stay put
- A metal-core channel that’s slightly misshapen can usually be re-bent carefully rather than replaced again
- Stop and call a professional if binding persists, the regulator motor strains or stalls, or your vehicle has ADAS sensors near the glass that could be affected by door work
Buying the correct part and avoiding fitment mistakes
The single biggest cause of a failed run channel install isn’t the labor, it’s the part. Cross-reference the OEM part number against your exact year, make, and model before you order anything.
- Measure your existing channel’s length and profile, and photograph it from multiple angles before shopping
- Check retailer fitment tables, since suppliers like AutoZone list both metal-core and rubber-only kits by vehicle application
- Choose a full metal-core assembly if your door frame is straight and original; choose a rubber-only insert if the frame is slightly worn or you need an easier install
- Expect parts costs and labor time to vary by region and vehicle, so treat any quote as a starting point rather than a fixed number
When a mobile pro makes more sense than DIY
Some jobs go beyond a weekend project. If your vehicle has ADAS cameras mounted near the window or windshield, if the glass itself is cracked or sitting loose in the track, or if corrosion has eaten into the door frame, a side window replacement handled by a trained technician avoids compounding the problem. Professional work done with quality materials, backed by a warranty and calibration services when needed, removes the guesswork that comes with an unfamiliar part number or a tricky frame.
The real decision isn’t skill, it’s the part number
Most of the DIY content on this topic focuses on wrenching technique, but the research keeps pointing somewhere else: fitment is where repairs actually go wrong. A careful installer with the wrong channel still ends up with a binding window or a repeat failure within months. A rushed installer with the exact OEM-matched part usually gets a working door.
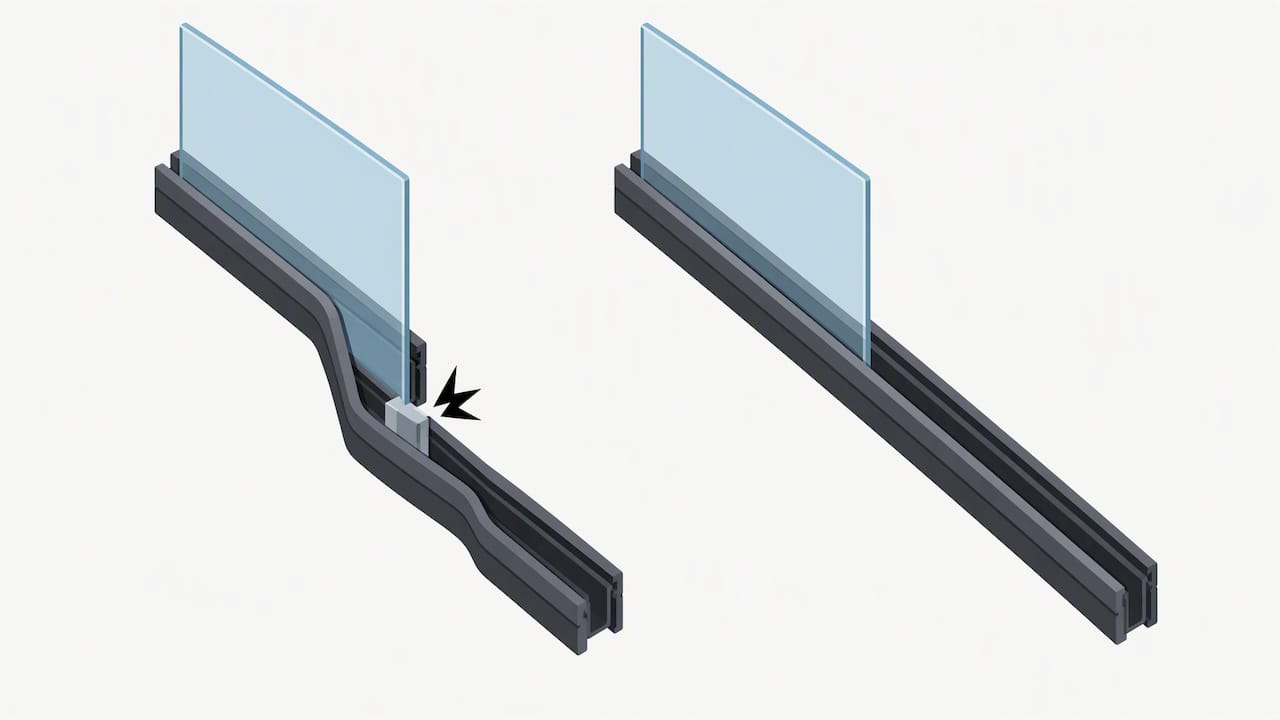
That’s the opposite of how most guides frame it. Spend your effort on confirming the part number, measuring the old channel, and photographing the door before you order anything, not on finding the fastest way to pop a panel loose. The panel removal and channel seating are genuinely teachable in an afternoon. Matching the channel to your specific vehicle is the part that separates a clean repair from a return-and-reorder cycle.
If you take one thing from this guide, let it be this: buy slow, install fast. The reverse approach is why so many forum threads end with someone ordering a second part.
— Auto Glass Kings
Get a free quote for mobile side window service
When a run channel job involves cracked glass, a corroded frame, or a vehicle with ADAS cameras, we handle it on-site with OEM-quality materials and a lifetime warranty on every install. Our side window replacement service includes in-house ADAS calibration when your vehicle needs it, so you’re not left making a second appointment elsewhere, and most of our customers pay nothing out of pocket thanks to direct insurance billing.
Ready to skip the teardown? Request a free quote and we’ll get your window back on track.
FAQ
How long does run channel replacement take?
A single door run channel replacement typically takes 1 to 3 hours for a DIYer with the right tools, depending on whether the glass needs full removal. Vehicles with complex door assemblies or corroded tracks can take longer.
Can I replace a run channel without removing the window glass?
It’s possible on some vehicles, but most practitioner guidance recommends removing the glass for better access to the track and to avoid cracking the pane during the swap. Supporting the glass instead of removing it is riskier and generally reserved for simple, pressure-fit channels.
Do I need adhesive to install a new run channel?
Most run channels are pressure-fit and don’t require adhesive at all. A small dab of weatherstrip adhesive like 3M GL-11 is only needed when the channel won’t stay seated or the original design used adhesive.
How much does professional run channel or window glass service cost?
Parts and labor costs vary by vehicle and region, so getting a direct quote is the most reliable way to know your price. Related services like side window replacement start from $189, and ADAS calibration when needed runs $250 to $700.
When should I hire a professional instead of doing it myself?
Hire a professional if your vehicle has ADAS cameras near the glass, if the window glass is cracked or unstable in the track, or if you spot heavy corrosion in the door frame. A trained technician can also handle calibration and warranty coverage that a DIY repair can’t offer.
Sources
- Simple guide to glass run channel – Steele Rubber
- PRP tech tips
- How to Replace Window Run Channel 1997-2006 Jeep Wrangler – 1A Auto
Recommended
Share
Recent Posts
October 6, 2026
1–3 Hours Per Door: Run Channel Replacement That Puts Fitment First
DIY run channel replacement with a fitment-first approach. Follow parts, tools, and a 1–3 hours per door procedure, plus when to call a...
October 5, 2026
Expect $305–$3,400: U.S. Tesla Windshield Costs and How to Save
U.S. model-by-model Tesla windshield price ranges ($305–$3,400 observed). Practical steps to cut out-of-pocket costs, mobile ADAS calibration options, and…...
October 4, 2026
Drivers, Follow Your Installer’s Wash Time After Windshield Replacement
Follow your installer’s written safe-wash time. If none, wait 24 hours for a hand wash and 48 to 72 hours before automatic or...